Which parts of a sauna forgive you, and which parts punish you
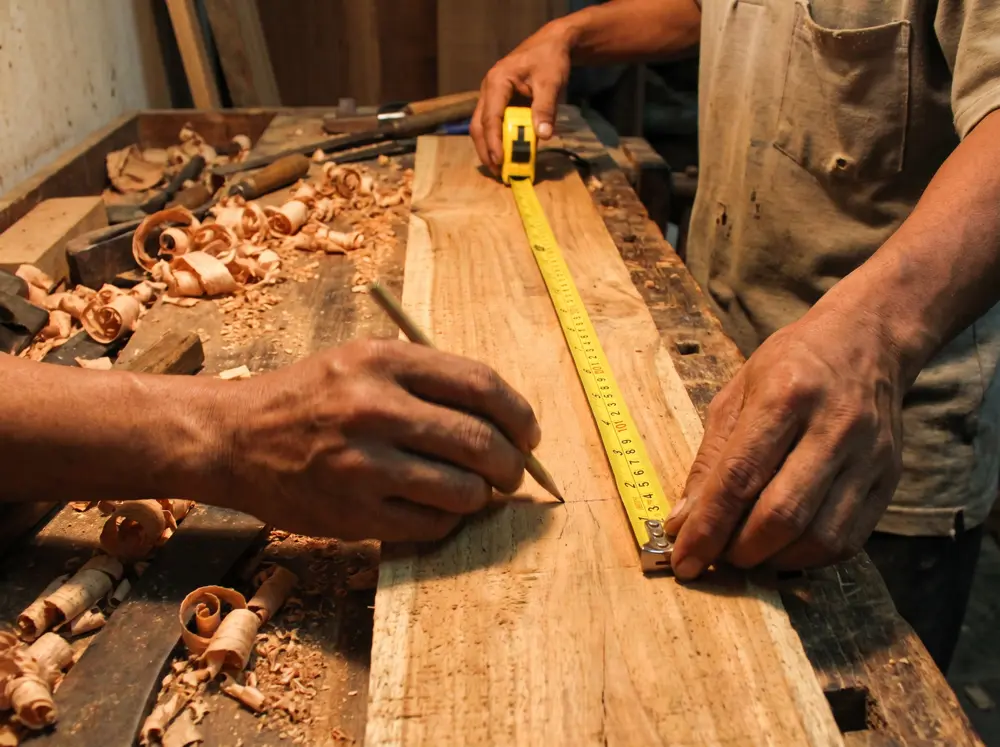
The first Finnish saunas were pits in the ground with a pile of hot stones. No contractor, no drawings, no two-year warranty. People built them in back sheds for a century. So here is the honest answer: yes, you can build a sauna yourself, and if you are a decent carpenter it can come out genuinely good.
We build these for a living, so you might expect us to say otherwise. We won't. We will only tell you where this project forgives you and where it punishes you — because we have pulled apart DIY saunas with tidier joinery than our own workshop, and found the wall behind them black.
To build a sauna yourself is three projects, not one
The first zone — frame, benches, cladding, door — only annoys you when it goes wrong; you redo it next weekend. The second is the vapour barrier and ventilation: a mistake there stays invisible for two years, then you open a wall. The third is the 6–9 kW heater circuit: a mistake there does not damage the sauna, it hurts someone.
The forgiving zone: timber, and this is the enjoyable part
The rules are few and hard, and every one is checkable by eye:
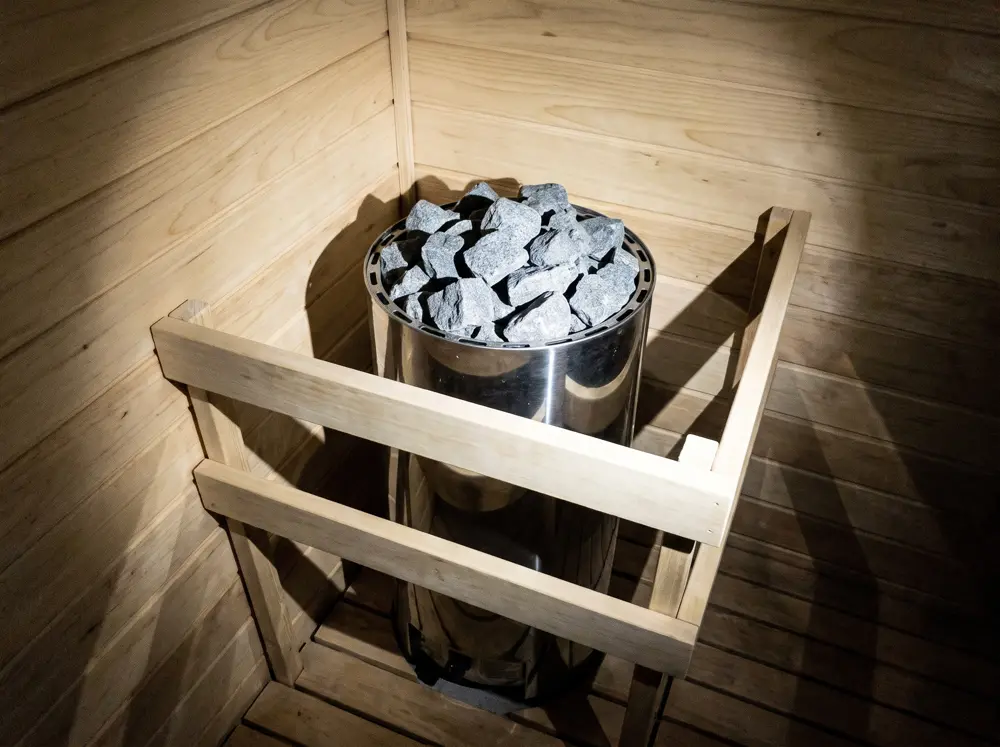
- No touchable metal inside the cabin. Bench screws go in from underneath. Steel moves heat into skin hundreds of times faster than cedar, and a bolt head on a backrest is a burn waiting for a bare back.
- No knots where skin lands. A knot is denser and resinous: fine on a wall panel, a hot spot on a bench slat.
- Bench slats gapped 8–10 mm, edges rounded, so sweat drains and timber dries before the next session.
- No varnish, paint, plywood or MDF. Film finishes blister at 90°C and off-gas into a room you breathe with open pores. Sauna timber is left bare.
- The door opens outwards, never locks — magnetic catch only, 600–700 mm clear. An inward-opening door cannot be opened if someone faints against it.
The geometry is simple, and everyone errs the same way: the ceiling ends up too high. Heat gathers at the top, so 1.0–1.2 m from the top bench to the ceiling puts your head in the hot layer and your feet in a cooler one. Fix it near 2.05 m; proportions are in our home sauna size guide.
The vapour barrier: the mistake you won't see for two years
This is what kills DIY saunas, and it kills them quietly. A dry sauna wall is a sandwich whose order cannot be swapped: frame, 50–100 mm mineral wool, aluminium foil on the warm side with every seam taped, a 15 mm cavity, then cladding. The foil is not a decorative reflector. Its one job is keeping vapour out of the insulation.
At 90°C, vapour pressure inside is far higher than outside, and that vapour is driven at the walls. Past the foil it travels out, meets a surface cold enough to condense on, turns to liquid water inside the cavity, and never dries. You will see nothing. Then in year two you smell something musty, and the damage is inside the wall, not on a surface you can sand.
In Bandung this is tighter than in a dry climate: the air already carries water before your sauna switches on. Elsewhere, escaped vapour can dry back out while the cabin is cold. At 750 m with high humidity that chance never comes — what gets in, stays.
The foil goes on the hot side: inside the cabin, directly behind the cladding, never behind the insulation. On the wrong side it moves the dew point somewhere worse and traps water there. Lap every seam about 100 mm and tape it with aluminium tape, not cloth tape. And the failure point is never the flat areas — it is the penetrations: light cables, junction boxes, ventilation openings.
Ventilation: two holes that decide how long the cabin lasts
The vapour barrier's mandatory partner, equally invisible. Without it the cabin never dries between sessions, and timber damp twenty hours a day does what you would expect. Fresh air enters low, near or under the heater, so the heat draws it up and it sweeps the cabin; air leaves through the opposite wall, as far from the inlet as it will go, so it cannot short-circuit. The outlet is generally larger, with a cover opened fully after a session. The typical DIY mistake is not forgetting ventilation — it is putting both openings on one wall.
The electrics: the one part we won't leave to you
This is the one paragraph where we will not soften anything. A 6 kW heater draws about 27 A at 220 V and a 9 kW about 41 A, while your wall socket is rated for 10–16 A. That gap does not close with thicker cable: it needs a dedicated circuit from the main panel, nothing else on the run, a breaker sized to the cable, and a 30 mA earth-leakage breaker because this is a wet room. A mistake here is not warped timber — it is hot cable in your ceiling and wet people in a sealed room.
So this is the only sentence here that does not end with "your call": the heater circuit is a licensed electrician's work. Note that this is not our work — it is an electrician's, and you can call one without involving us. Check your supply capacity before ordering a heater, too: 6 kW on a 2,200 VA meter is not difficult, it is impossible. The numbers are in sauna power requirements.
The materials list, and what to look for
| Item | Specification | What to look for |
|---|---|---|
| Wall & ceiling cladding | Cedar, Nordic spruce or hemlock; tongue and groove; 15 mm+ | Kiln-dried. Refuse 8–10 mm panels — they move every cycle |
| Bench slats | Thermo-aspen or cedar, knot-free | Inspect every board anyone sits on. One knot, one hot spot |
| Insulation | Mineral wool, 50–100 mm | Not polystyrene, not foam |
| Vapour barrier | Sauna-grade aluminium foil | Real foil, not foil-faced foam that tears as you fit it |
| Foil tape | Aluminium tape | Not cloth tape. The most common failure point |
| Door | Tempered glass, opening outwards | No lock. It must push open from the inside |
| Heater + stones | 6–9 kW, matched to cabin volume | Do not undersize — see the mistakes list |
| Light | Heat- and moisture-rated fitting | Out of the direct heat, its penetration resealed |
One line appears on no shopping list, and it is the one DIY builds skip most: time. Kiln-dried is not a luxury but a requirement — and in an ordinary Bandung timber yard genuinely kiln-dried stock is not a given, so ask for the moisture content instead of trusting the word "dry". Then let the boards sit for weeks where they will be installed. A board fitted at 16–18% moisture content drops to 6–8% within months, and a 120 mm board can shrink one to two millimetres. Pinned at both edges it does not shrink — it cracks. Species are compared in best wood for sauna, and our home sauna cost breakdown shows what you still buy even doing every hour yourself.
The order of work
- Check your supply capacity and panel. If you need an upgrade, apply that day — the queue runs while you work.
- Fix cabin size and heater together. One decision, not three.
- Buy the timber, then leave it alone for weeks on site before cutting.
- Frame, then ventilation — cut the openings now, not after the cladding is up.
- The electrician runs the heater circuit while the walls are open.
- Insulation, foil, then tape every seam and penetration. The dullest day, and the one that decides the outcome.
- Battens for the 15 mm cavity, then cladding. Benches last: screwed from below, slats gapped 8–10 mm.
- The electrician connects and tests. Then run the cabin empty with the vents open.
The expensive mistakes, and what each one costs
- Foil leaking at a penetration. Rot in the wall cavity, announced by a smell in year two. The repair is stripping the cladding.
- An undersized heater. The cabin never reaches 90°C, it runs at 100% duty cycle forever, and you pay more for a colder sauna.
- Timber never acclimatised. Splits around screws and gaps opening in month four, in a cabin that was perfect on day one.
- Pine inside the cabin. Resin liquefies at 90°C and weeps sticky onto thighs and towels. It can only be replaced.
The most punishing part of a sauna is the part nobody will ever see. It is also the first part people skip when they are in a hurry.
If you decide to build it yourself, we respect that — some of our team started exactly there. Between jobs our team does remote consultations at no charge — remote, so you need not be in Bandung. Send your room dimensions, photos of the walls and your plan over WhatsApp, and we will tell you honestly whether it works in your case and what to watch for. No quote follows, no obligation. If the answer is "your plan is sound, go ahead", that is what you will hear.
This article is provided for information only. We accept no responsibility for the outcome of work you carry out yourself, and any electrical work should be carried out by a licensed electrician.
Frequently asked questions
Can you build a sauna yourself?
Yes, and people have been doing it for a century. The frame, benches, cladding and door are ordinary carpentry that forgives mistakes because you can see them. What punishes you is the vapour barrier and ventilation, while the 6–9 kW heater circuit has to be done by a licensed electrician.
How much does it cost to build your own sauna?
DIY does not make a sauna cheap, it moves the labour line. The heater, timber, foil and glass cost the same for anyone, and you may pay slightly more for timber because you are buying a small quantity. What you actually save is installation and joinery — around Rp 12–18 million on our numbers — paid for with your weekends.
Does a DIY sauna need a vapour barrier?
It does, and in a humid climate like Bandung's it is the least negotiable part of the build. Without aluminium foil on the warm side with every seam taped, vapour passes into the insulation, condenses in the wall cavity and never dries out. You will see nothing for about two years, then smell it, and by then the damage is inside the wall.
What wood should I use to build a sauna myself?
Cedar, Nordic spruce or hemlock for walls and ceiling, and thermo-aspen or knot-free cedar for benches. All of it should be kiln-dried rather than air-dried, then left to sit on site for several weeks before you cut it. Pine is avoided inside the cabin because its resin melts and weeps at sauna temperature.
Can I wire a sauna heater myself?
No. A 6 kW heater draws about 27 A and a 9 kW about 41 A, while a domestic socket is rated for 10–16 A, so this is a dedicated circuit from the main panel with a correctly sized breaker and a 30 mA earth-leakage device. It is a fire and shock risk rather than a formality — and you can hire an electrician directly without involving any sauna contractor.
Information on this site is educational and is not medical advice. Consult a doctor before starting heat or cold therapy.
Sauna safety: safe for most people, genuinely risky for a few
The most dangerous thing in a sauna is not the 90°C. The article every company selling these should write, and almost none do.
Sauna power requirements: check the supply before you choose, not after
The quote was signed and the cedar chosen. Then our surveyor looked at the meter, and the project stopped for five weeks.
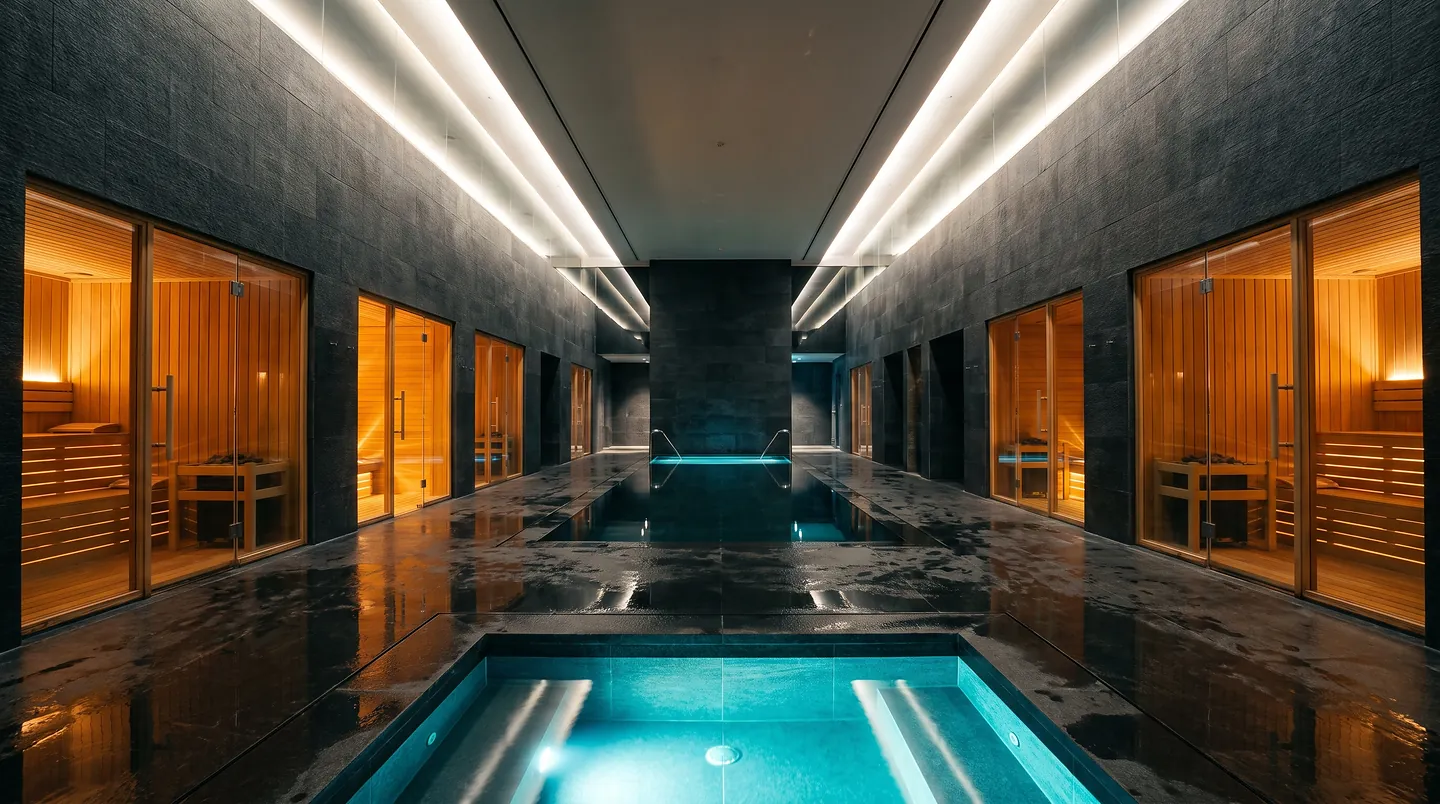
A villa wellness area lives or dies on circulation, not equipment
The best sauna money can buy, placed on the wrong path, ends up as a towel cupboard.
Start with a free survey
We come to your place in Bandung, measure, check the power, and tell you what's possible and what isn't. No cost, no obligation.